
De todas as receitas que já fiz de pães integrais vegan e sem glúten, essa é a minha favorita, com certeza. E provavelmente será a que você mais vai usar em casa. Juro! Um pão com pouquíssimo carboidrato, cheio de fibras, super proteico e rico em gorduras saudáveis! Sim, pode acreditar que isso é um pão. Adoro pães integrais, fazer um sanduíche gostoso, ou aquele pãozinho com geléia acompanhando um chá ou café… E quem não gosta? Em função de pães serem algo tão presente no dia a dia das pessoas, acho importante termos opções, para poder escolher algo com sabor e qualidade, e assim manter esse hábito delicioso, sem desequilibrar o organismo.
O Diferencial desse Pão
Diferente da maioria dos pães que achamos nas prateleiras de supermercados, os ingredientes desse pão são integrais, não tem nenhum aditivo químico, conservante, ou aqueles ingredientes impronunciáveis. Não contém glúten e leite de vaca, por isso é uma opção perfeita para quem evita esses dois ingredientes. Combinei várias sementes, amêndoas, não usei fermento e a única farinha que coloquei foi a de coco (minha preferida). Gosto de comer esse pão no café da manhã, ou no jantar acompanhando uma salada, com sopa quando esta frio, ou até usar para fazer bruschettas, quando estou recebendo amigos em casa. Fica tudo de bom! Você pode fazer a receita em dobro e congelar o pão já fatiado (importante) em pedaços individuais no seu freezer, assim você não precisa fazer toda semana e irá durar mais tempo.

Receita:
O QUE VOCEÊ IRÁ PRECISAR:
- Liquidificador ou processador para moer sementes/ amêndoas.
- 3 xícaras de água filtrada (começar com 2 ½ e adicionar mais, se necessário)
- 1 xícara de sementes de girassol triturada
- 1 xícara de amêndoas cruas trituradas
- 1 xícara de aveia em flocos (pode ser versão sem Glúten)
- ½ xícara de semente de abobora triturada
- ½ xícara de sementes de linhaça, triturada
- ¼ xícara de Farinha de coco
- 3 colheres de sopa de óleo de coco derretido.
- 3 colheres de sopa de pó de psyllium (Veja onde achar adiante)
- 2 colheres de sopa de chia triturada
- 1 ½ colheres de sopa de sementes de gergelim
- 1 ½ col de sopa de mel ou Maple Syrup
- 1 colher de sopa de maca peruana (opcional)
- 1 colher de chá de sementes de cominho, moido
- 1 colher de chá de sal marinho
- Pimenta do reino moída à gosto
- Pitada de estragão seco
COMO FAZER:
- Meça a quantidade de nozes e sementes primeiro para depois moer.
- Em um processador de alimentos, liquidificador, ou triturador, coloque as amêndoas, sementes de linhaça, sementes de girassol e sementes de chia e moer até criar uma consistência tipo pó fino. Separe em um recipiente e deixe de lado.
- Em uma tigela pequena, misture o óleo de coco derretido, mel ou maple syrup, ervas / especiarias e água.
- Em uma tigela grande, misture as nozes moídas e sementes com todos os outros ingredientes secos.
- Despeje a mistura “molhada” aos poucos na tigela grande com os ingredientes secos. (adicione mais água aqui se necessário)
- Mexa até misturar bem. O psyllium, a chia, a linhaça e farinha de coco vão rapidamente absorver a água e criar uma textura na massa.
- Em uma forma de pão de tamanho 9×5 (eu gosto de usar papel manteiga para forrar ou usar uma forma de silicone), despeje a mistura da massa na forma.
- Uniformemente espalhe a mistura e pressione para baixo até ficar firme e plana no topo.
- Preaqueça o forno a 180 graus e asse por no mínimo 60 minutos.
- Deixe repousar à temperatura ambiente durante cerca de 2 horas (ou mais). Isto é importante criar mais liga na massa.
- Coloque a forma no centro do seu forno e deixe por no mínimo 60 minutos. Fornos variam bastante, portanto à partir de 60 minutos sugiro dar uma olhadinha e acompanhar a cor (voceê quer atingir uma cor marrom escura). No meu forno deixo 80 minutos.
- Deixe esfriar em temperatura ambiente antes de cortar (importante).
- Guarde o pão em um recipiente hermético na geladeira por 5-7 dias. Congele em fatias individuais se preferir.

Já que pratico minhas atividades físicas de manhã, logo após meu café da manhã, esse pão não é minha melhor opção como o meu “pré treino”, até porque, por ele ser rico em gorduras e proteínas, sua digestão é lenta e não combina com meu curto intervalo, entre comer e treinar. Mas, para dias sem treino após o café da manhã, esse pão cai super bem, me deixa satisfeita por bastante tempo e com o intestino funcionando super bem.
Ótima Fonte de Fibras
Por esse pão ser muito rico em fibras, quando você come diariamente, ajuda o intestino a funcionar regradinho. Vale lembrar que aumentar a ingestão de fibras e beber pouca água pode até piorar o seu intestino. Brinco com meus pacientes que se consumimos muita fibra, mas pouca água, nosso bolo alimentar vira tipo cimento no intestino, resseca e pára tudo!! Portanto, aumentar ou manter a boa ingestão de fibras é uma ótima idéia para manter seu intestino funcionando bem (melhorar sua flora intestinal, previne câncer de colon, equilibra colesterol, entre outros benefícios), mas lembre-se que beber água e ter uma alimentação balanceada é fundamental para atingir esses benefícios e ajudar o trânsito intestinal a fluir com tranquilidade.
DICAS E EXTRA INFOS
Armazenamento: por não ter aditivos químicos e conservantes, esse pão deve ser mantido na geladeira ou, após fatiado, pode ser congelado para durar mais tempo e evitar crescimento de fungos. Do freezer direto para torradeira, fica uma delícia.
Como gosto de comer esse pão: Fica uma delicia apenas com geléia de frutas. Mas, também acompanha bem com ovos mexidos ou pasta de Nuts! Como disse no começo, fica maravilhoso com saladas e sopas!!
Sementes: Prefira comprar as sementes inteiras (ainda não trituradas ou em pó) e moer na hora no seu liquidificador. Não gosto de comprar sementes em pó pois elas oxidam muito rápido e perdem o valor nutricional com mais facilidade.
Onde comprar? Psyllium Husk ou Maca Peruana: lojas de produtos naturais, zona cerealista, algumas lojas de suplementos // Maple syrup: super comum aqui nos EUA, mas no Brasil pode ser mais difícil de encontrar e por um preço um tanto quanto salgado. Nesse caso, o mel substitui super bem! Supermercados como Pão de Açúcar, armazéns ou empórios, geralmente fornecem Maple Syrup.
Informações Nutricionais: Rende aproximadamente 20 fatias finas.
Gorduras: 13g // Carboidratos Totais: 10 // Açúcar: 2 // Fibra: 6 // Proteína: 6

Portuguese Version? Click here!
This is my favorite recipe of vegan and gluten free breads that I’ve done so far, and I bet it will be the one you will most frequently make in your home. Try to picture tasty bread, poor in carbohydrates, lots of fiber, protein-rich, and filled with friendly fats. Yes, this is actually bread. I love whole grain bread, to make delicious sandwiches, or just to have it with jam while I enjoy a hot coffee or tea. And who doesn’t like it? Since bread is something very frequent on people’s diet, I think it is very important to have options that are yummy and with high quality at the same time, so we can keep this delicious habit without messing up with our organism.
What Makes this Bread so Unique?
Unlike most kinds of bread that we see around on shelves of grocery stores, this bread has high density nutrition, no artificial additives added or those unpronounceable ingredients. It is gluten and dairy free, which makes it enjoyable for those who are sensitive or allergic to these ingredients. I’ve combined different seeds, almonds, oats. Also, coconut flour (my favorite) is the only flour that I use for this recipe. No baking soda/powder is needed. I love to enjoy this bread on my breakfast, or while I eat a salad or soup for dinner. I love to make bruschettas with this bread, when I’m having some friends over. You can make a double recipe at once, and freeze one recipe (important: already sliced), so you don’t need to make it every single week and you will also save your bread for a longer time.
Recipe:
WHAT YOU WILL NEED:
- 2 1/2 cups filtered water (you might need an extra 1/2 cup)
- 1 cup rolled oats, gluten free
- 1 cup raw sunflower seeds
- 1 cup raw almonds
- ½ cup raw pumpkin seeds
- ½ cup flax seeds, ground
- ¼ cup coconut flour
- 1/4 cup of coconut oil, melted
- 3 tablespoons psyllium husk powder
- 1 tablespoons chia seed, ground
- 3 tablespoons sesame seeds
- 1½ tablespoons maple syrup
- 1 teaspoon caraway seeds
- 1 teaspoon sea salt
- Black pepper (ground)
- Pinch of dried tarragon
HOW TO MAKE IT:
- First of all, measure out the amount of nuts/seeds.
- Grind the seeds and almonds in a food processor, blender, or nut/seed grinder until you reach a powdery consistence. In a large bowl or recipient pour this mixture and go to the next step.
- Combine the coconut oil (melted), maple syrup, herbs/spices, and water in a different recipient. Slightly mix them with a spoon.
- Combine the ground nuts and seeds with all other dry ingredients (oats, psyllium husk and coconut flour) in a large bowl.
- Pour the “wet” mixture into the recipient with the dry ingredients. (Here you can add the extra 1/2 cup of water if it is too dry). Stir it until well mixed.
- In a silicone bread pan or bread pan that is 9×5, pour the dough mixture into the pan. I often use parchment paper, but in a silicone pan you won’t need it.
- Try to make the dough the same level using the back of a spoon. You might need to press down the dough.
- Allow the bread get a soft texture leaving it for 2 hours at room temperature. This is important to get a better texture.
- Preheat oven to 350 degrees F.
- Place the bread loaf in the center of the oven, bake it for at least 60 minutes. You want a brown (more to dark) color.
- Allow the bread cool down before slicing it.
- Store the bread in an airtight container in the refrigerator for 5-7 days. I like freezing this loaf in individual slices.

I usually go working out right after my breakfast, so this bread is not my favorite pre workout option, due to the high amount of proteins and good fats, which makes the digestion pretty slow and I don’t have enough time between my breakfast and training to digest it. However, on days that I don’t have my workouts right after my breakfast, I love to have this bread because it keeps me energized and satisfied for a long time!
High Fiber Source
Due to the high amount of fibers, if you have a slice of this bread on a daily basis, you can expect great help on your bowel movements. Of course that the bread itself is not a miracle, you have to have a proper water intake and an overall balanced diet, but I have experienced great results with this bread and so have my clients. I always remind them to make sure that their water intake is adequate when they seek for more fiber on their diets. That is because if you have a fiber-rich diet, but with poor water intake, your stool might get too dry and then make you constipated. Therefore, having a rich fiber diet it is a great way to achieve a better overall digestion, prevent from colon cancer, cardiovascular diseases, weight management, and other benefits, but always remember to keep yourself hydrated so it help your stool flow easily.
Extra Info:
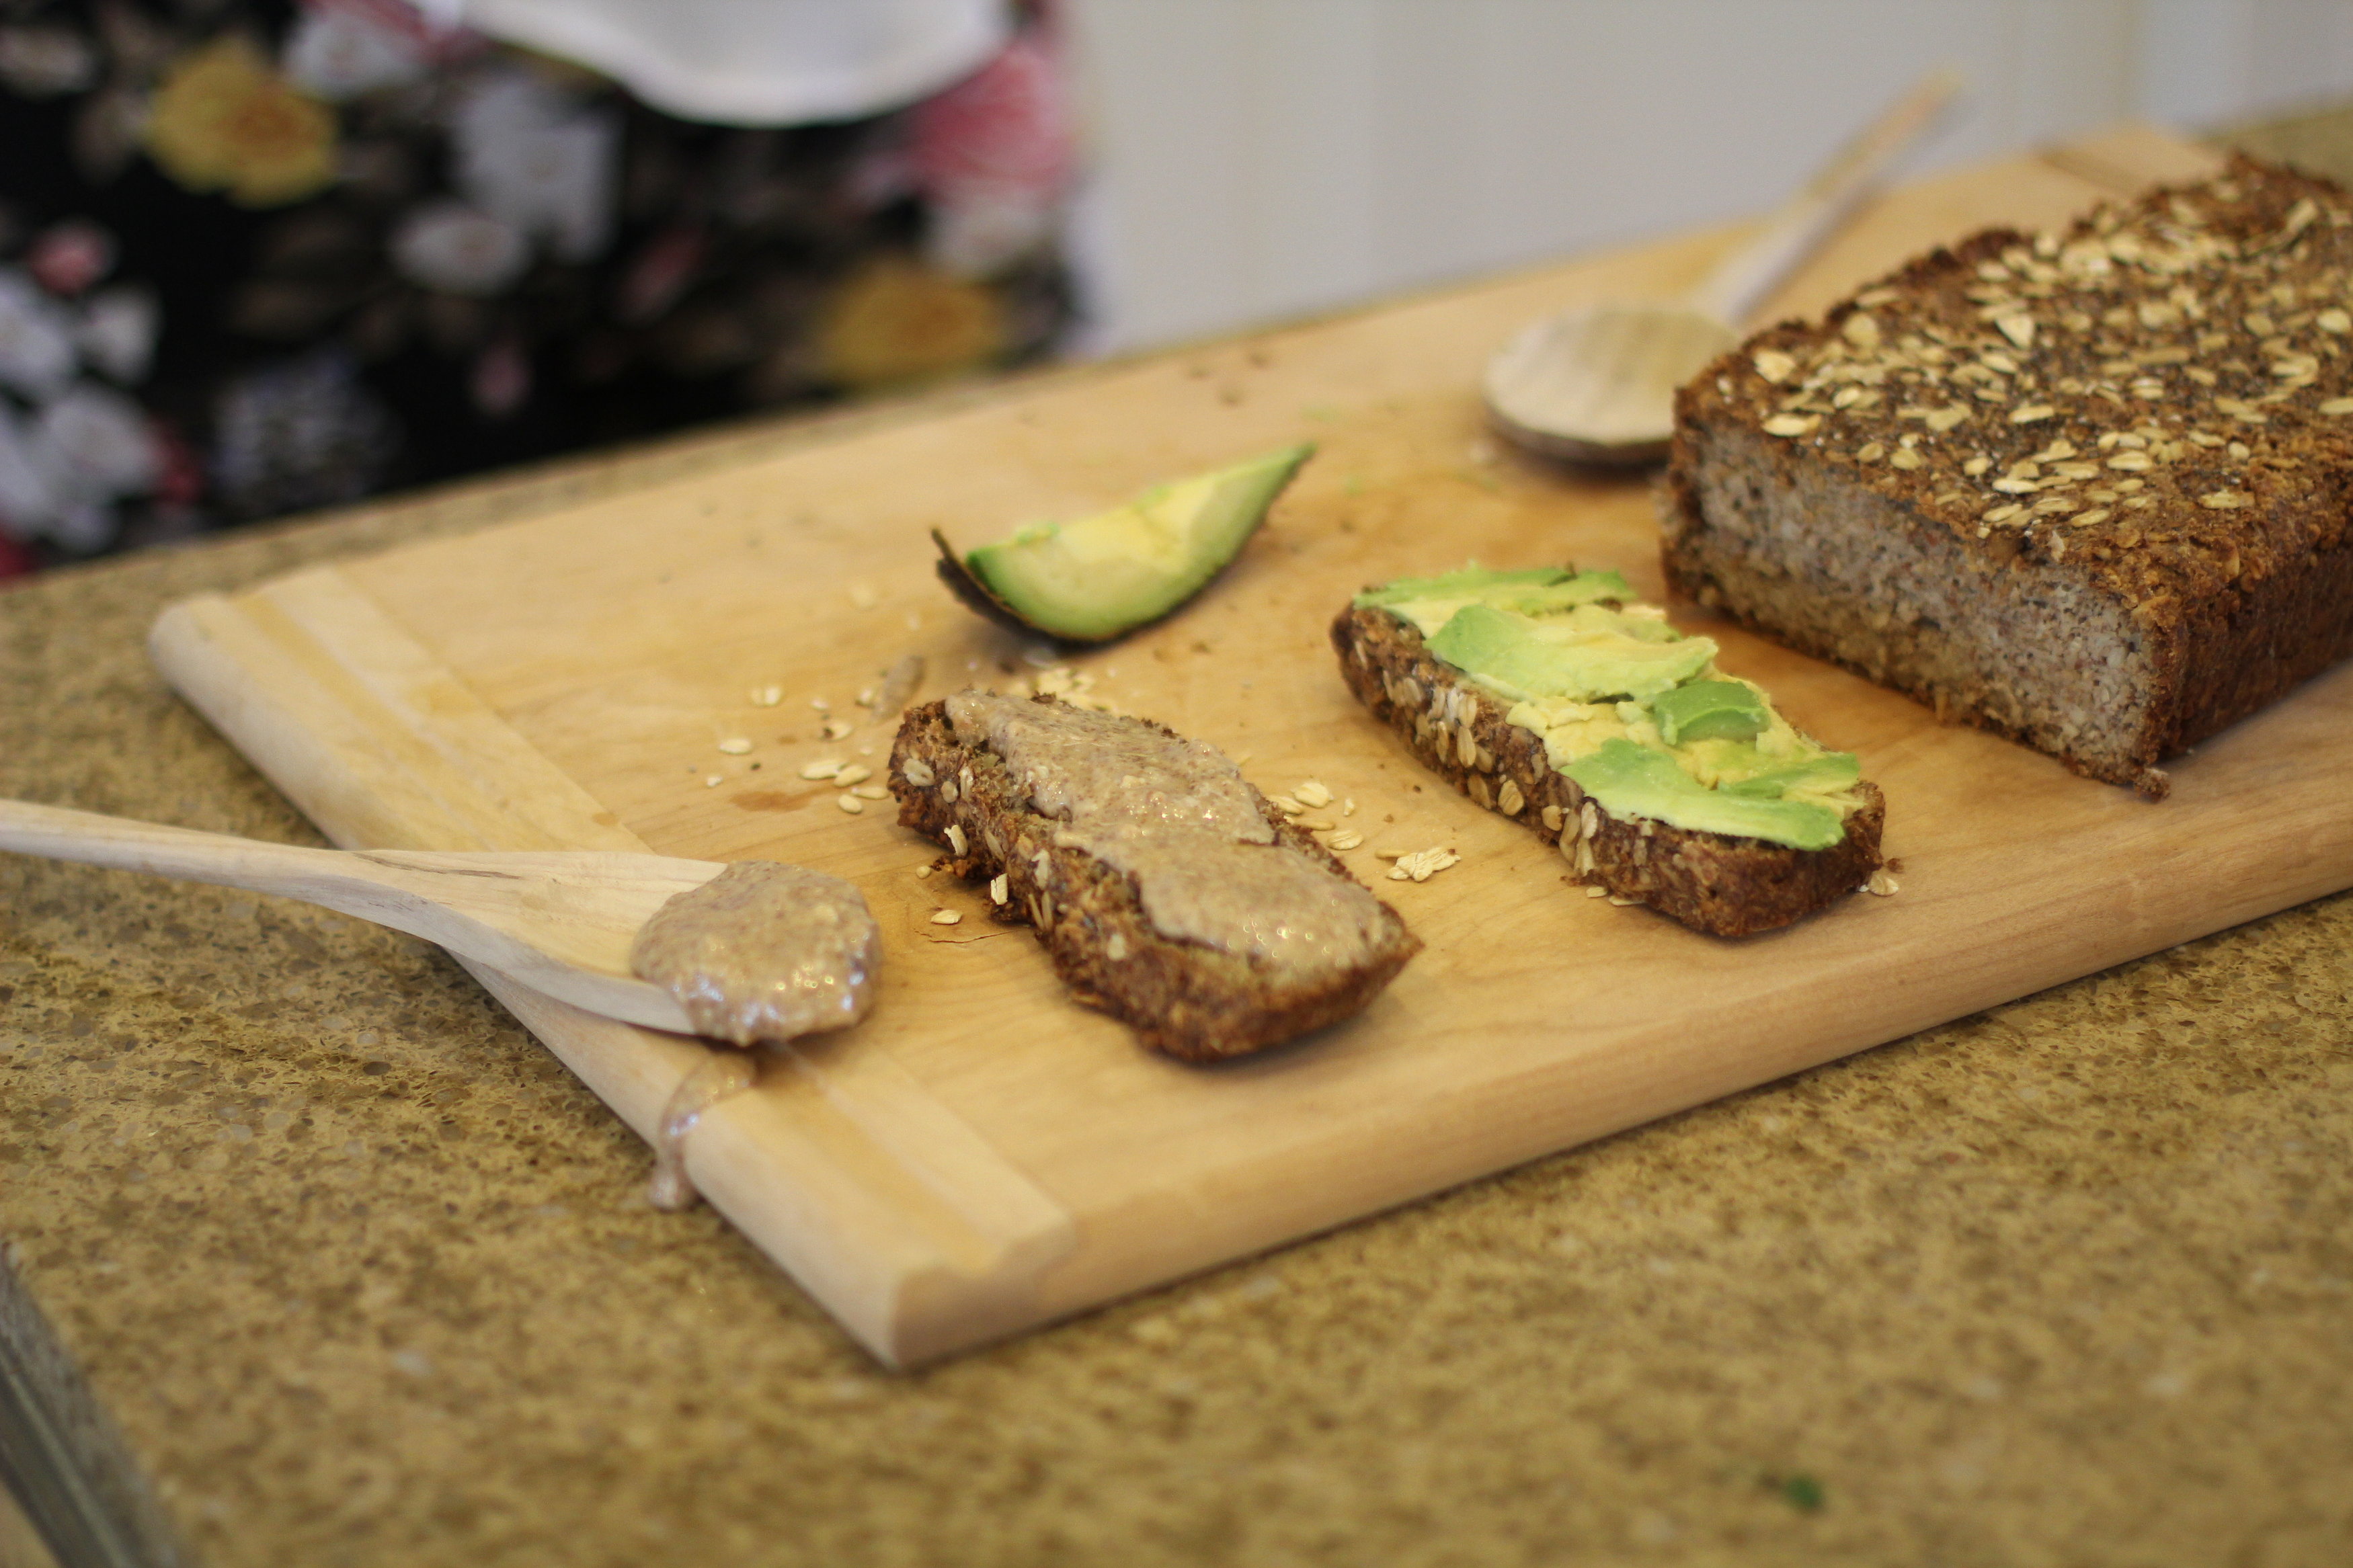
How I like to eat this bread: Strawberry or other berry jam //Nut butter //Avocado //Tomatoes, fresh basil, and goat cheese (bruschetta)
Where to Find: Psyllium Husk: health stores or online stores.
How to store: I usually allow the bread to cool down, then I make individual slices and freeze it. From the freezer, I put it directly on my toaster so it gets really crunchy!! But you can only store it inside your fridge in a sealed recipient for 1 week.
Source: This recipe is an adaptation of the dietician McKel’s, which I am big fan of!


Leave a Reply